How To Install Window Blinds

How To Install Window Blinds
Whatever blind type you go for, our simple steps and top tips will have your new window blinds up and looking good in no time.
If you’re looking to revamp your windows with one of our blinds and aren’t sure where to start when fitting it, then look no further. With just a few simple steps and our handy how-to videos, your new blind will be in pride of place in no time. So, whether you’ve picked up a roller blind, Venetian blind or vertical blind, keep reading and enjoy your fuss-free journey to a new view.
Learn How to Fit a Roller Blind
Things to remember when fitting your roller blind
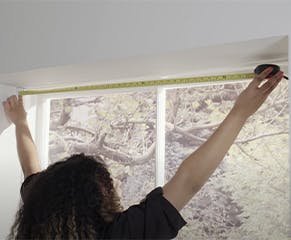
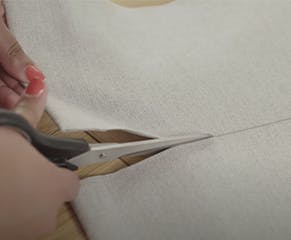
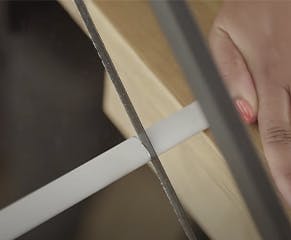
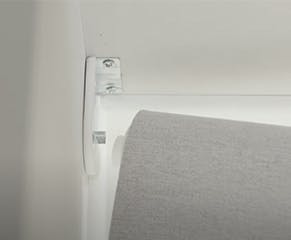
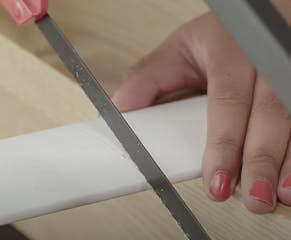
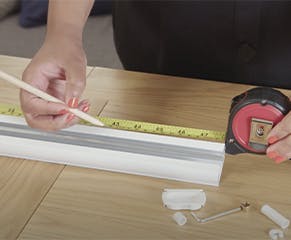
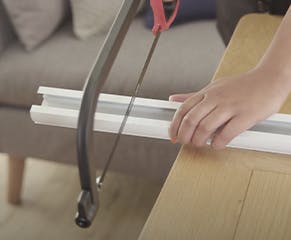
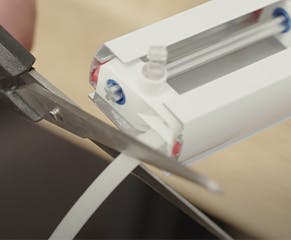
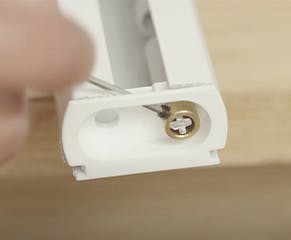
Our Roller Blind brackets have two sets of holes to fit your screws and can be rotated to suit a variety of positions inside the recess, outside the recess, into the ceiling or into the wall. These handy steps include how to cut your blinds to size if needed but remember, once a blind has been cut it cannot be returned so take your time over this step. If in doubt, cut your blind slightly larger than required, and then trim until it fits.
Fitting your roller blind
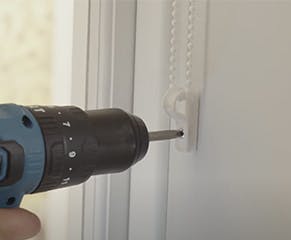
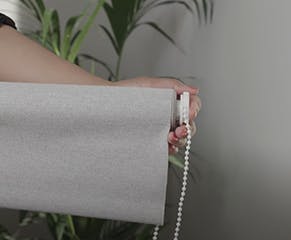
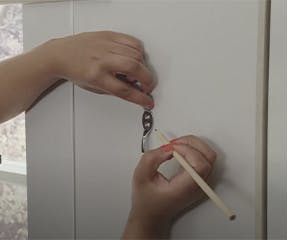
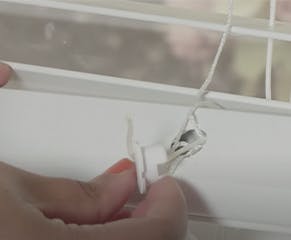
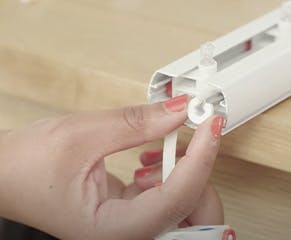
9. Lastly, to install the cord tensioning child safety device - also called a P-Clip - clip the device to the blind cord and make a pencil mark where to drill the hole. This should be at least 1.5m above the floor, and the cord should have continuous tension but still be able to run through the device. For cordless roller blinds you can skip this step as the blinds are by design and do not require a child safety device.
Learn How to Fit Roman Blinds
Things to remember when fitting your roman blind
Only a few Roman blinds can be cut to size, if this is the case, it will say so in the product details. Remember, once a blind has been cut it cannot be returned.
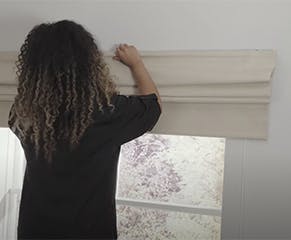
Fitting your roman blind

1. When fitting the brackets, they need to be placed at least 8cm from the end of the headrail. Using a pencil, mark the position of the brackets and drill the holes. Fix the brackets in place using suitable fixings and rawlplugs. (Sometimes a third bracket is supplied for larger blinds, this should be positioned in the centre of the blind.)
Learn How to Fit Venetian Blinds
Things to remember when fitting your venetian blind
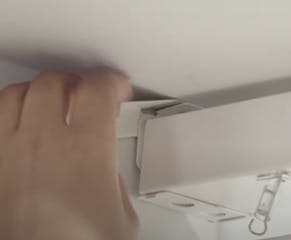
Venetian Blind brackets come with various holes, allowing you to fit inside the recess, outside the recess, into the ceiling or into the wall. In the steps below and in the video, the blinds will be fitted to the ceiling inside the recess, but the process is similar for the other positions. Our Venetian blinds can be cut to size, with the amount of material that can be removed varying from blind to blind, so make sure to check before cutting. Remember, once a blind has been cut it cannot be returned.
Fitting your venetian blind
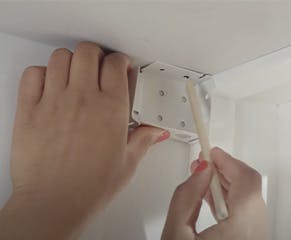
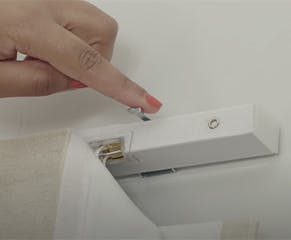
1. Using a pencil, mark the position of the brackets and drill the holes before fixing the brackets in place with suitable fixings and rawlplugs. Sometimes a third bracket is supplied for larger blinds, this should be positioned in the centre of the blind. If the slat ladder webbing is in this middle position, the centre bracket can be fitted off-centre.
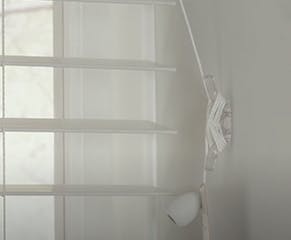
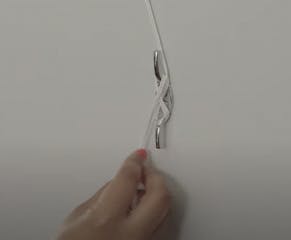
11. Lastly two safety cleats are provided with each blind, they should be positioned on each side of the blind. The devices should be fitted as close to the headrail as possible, and at least 1.5m above the floor. Each time you operate your blind, the cords should always be wrapped around each cleat in a figure of 8, using the whole cord, with the remaining minimal end draped over the cleat.
Learn How to Fit Vertical Blinds
Things to remember when fitting your vertical blind
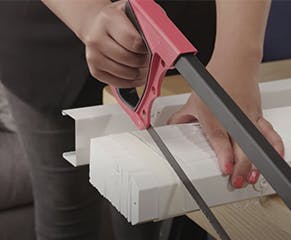
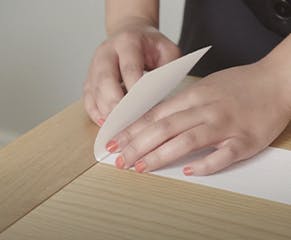
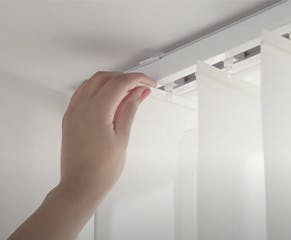
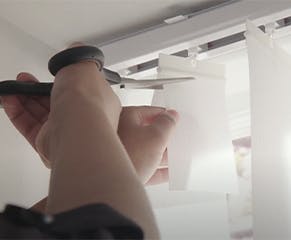
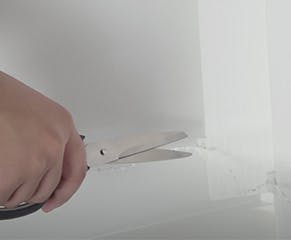
Our Vertical Blind brackets come with various holes, allowing you to fit inside the recess, outside the recess, to the ceiling or to the wall by using the L-shaped brackets. In the following steps and in video, the blind will be fitted to the ceiling inside the recess, but the process is similar for the other positions. Sometimes the blinds might need cutting down for a better fit, but remember, once a blind has been cut it cannot be returned. If in doubt, cut your blind slightly larger than required, and then trim until it fits.

